How to
You can download the following How to here.
How to download Secure Logon™ 2.0
Please go to our Download Area and click Download Secure Logon™ 2.0 and receive a reader and token as a free rental.*, to register and download Secure Logon™ 2.0. Or use Alternatively: Already got a reader and token? Download Secure Logon™ 2.0 if you already got everthing.
Please note:
Some Pop-up blocker prevent the download of Secure Logon™ 2.0. Please deactivate your Pop-up blocker before downloading.
How to install Secure Logon™ 2.0
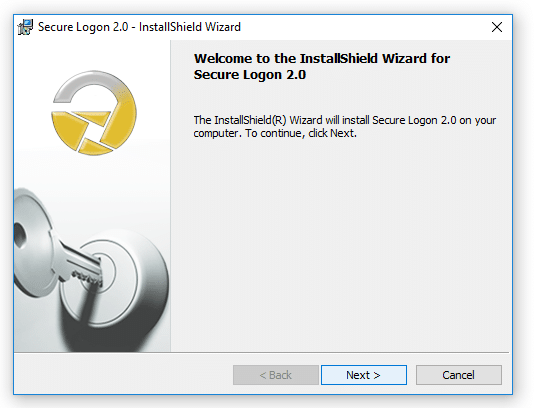
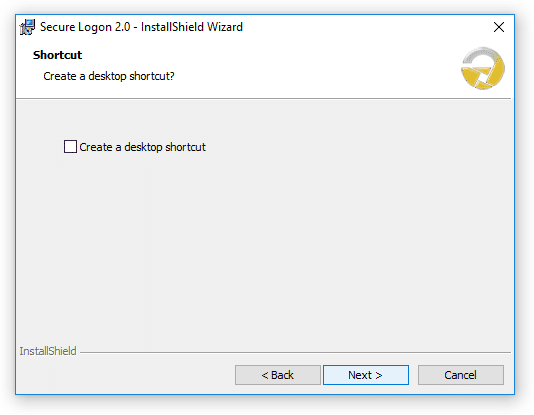
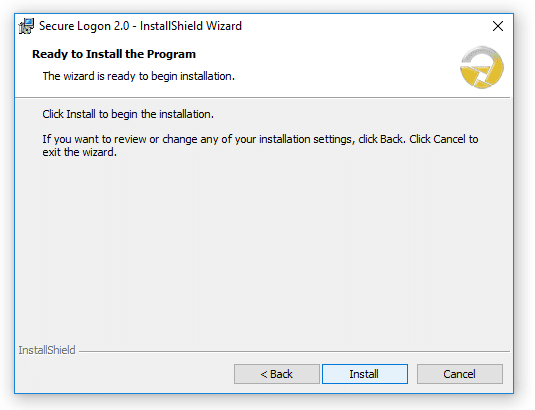
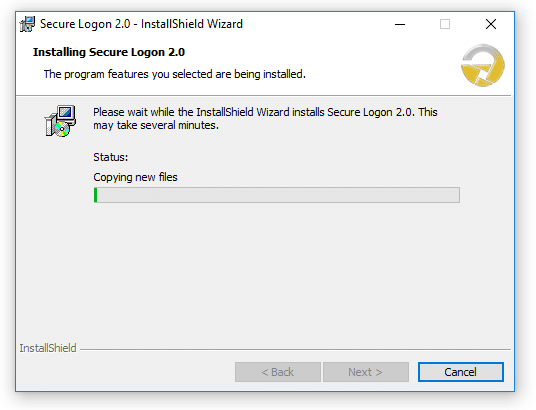
Please start the installer and follow the instructions.
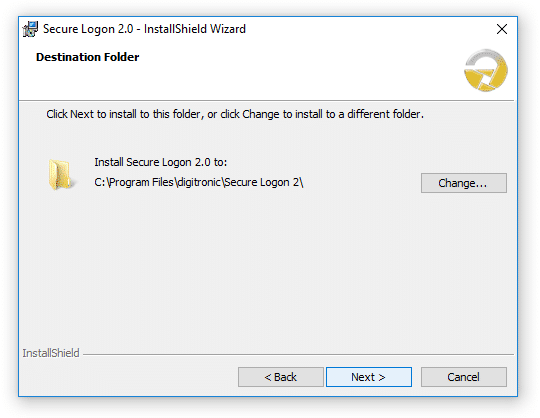
Select the destination folder for the installation of Secure Logon™ 2.0 and confirm by clicking “Next”.
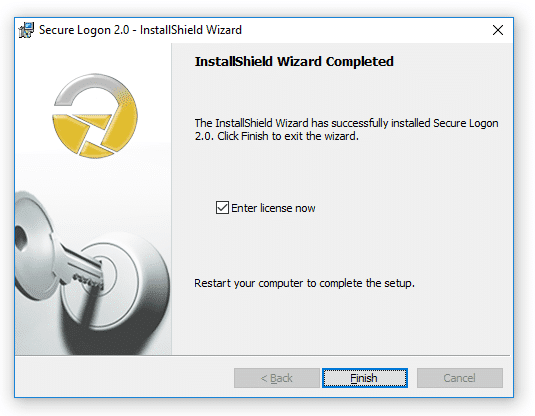
Do not remove the tick in “Enter licence now” checkbox, if you want to configure your licence now, and press “Finish”.
Wait until the installer has finalized your installation.
After completion you will be prompted to restart your computer.
How to activate Secure Logon™ 2.0
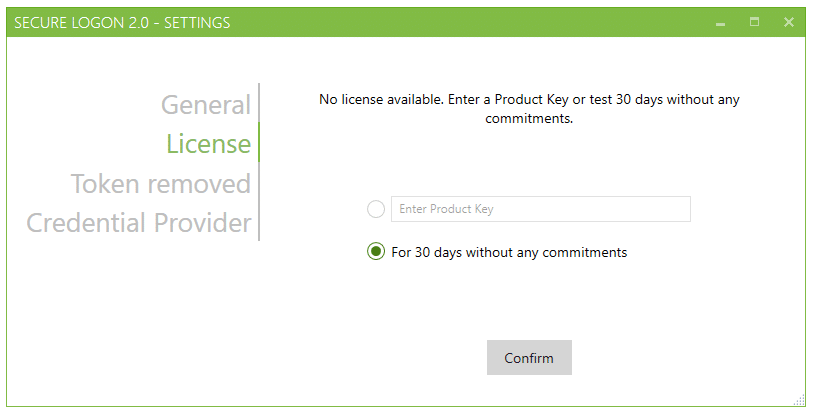
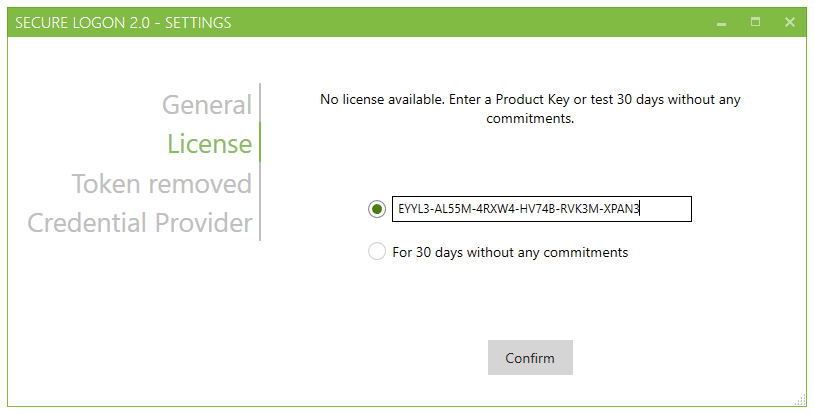
After a successful installation, you will be prompted to activate Secure Logon™ 2.0. This procedure is compulsory if you want to use the software.
You do not need a Product Key during your evaluation. Activate the option “For 30 days, without any commitments” and press “Confirm”.
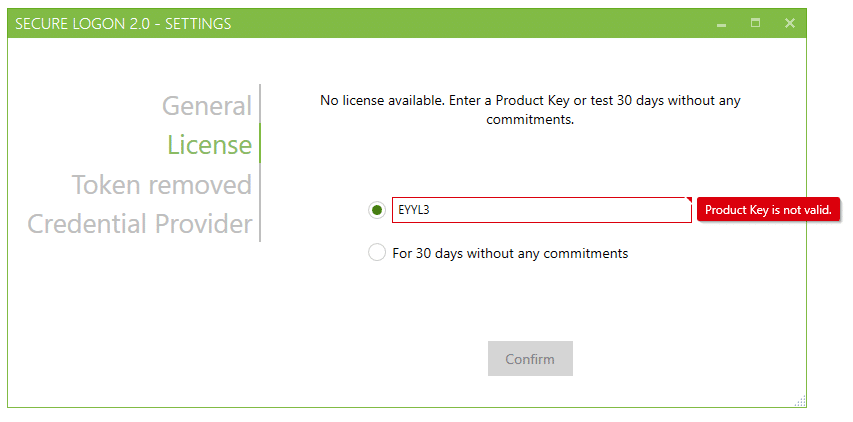
The warning disappears as soon as a technically correct Product Key is entered.
If the Product Key is correct, click “Confirm”.
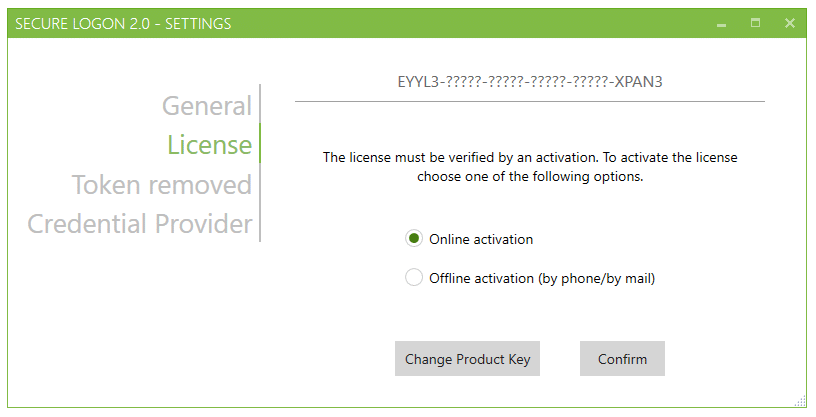
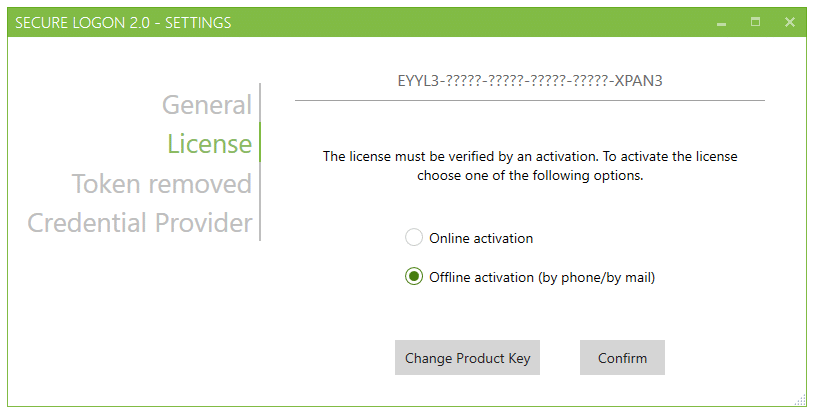
Whether you entered a Product Key or used the 30-day-trial, Secure Logon™ 2.0 must be activated before you can use it. You can do this online as well as offline (e.g. via phone or E-Mail).
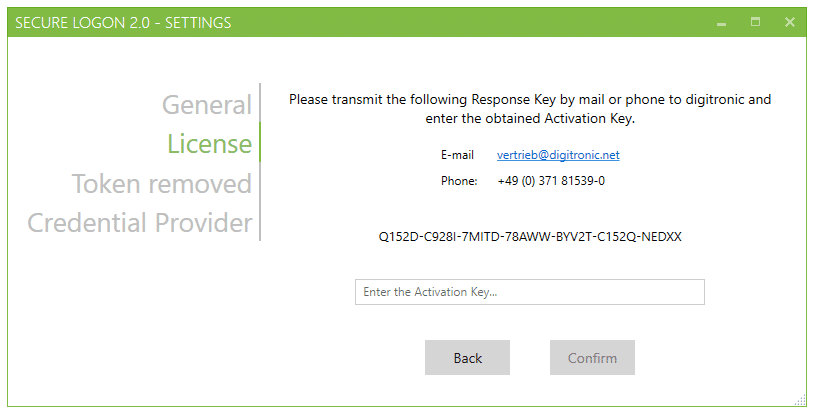
Only by offline activation a Response Key is displayed. You can use this* form to enter and activate it, send it via E-Mail to digitronic® or transmit it via phone. While an offline activation via E-Mail or phone are processed during our office hours only, an offline activation via homepage is also possible outside our office hours.
You will receive an Activation Key, which you have to enter in this dialogue.
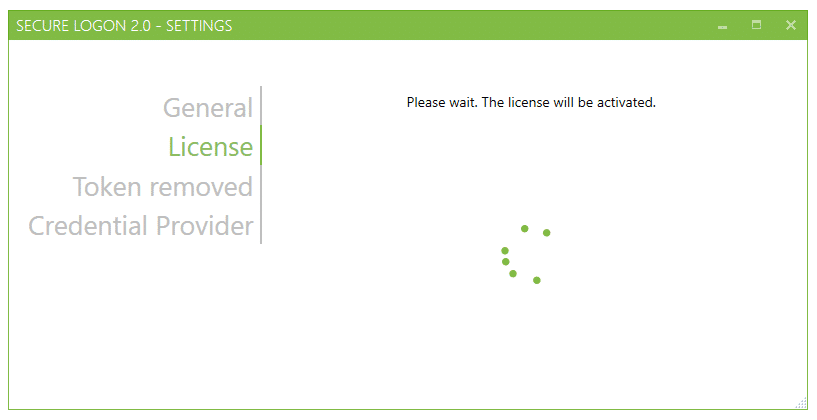
To finish the activation-process press the “Confirm” button.
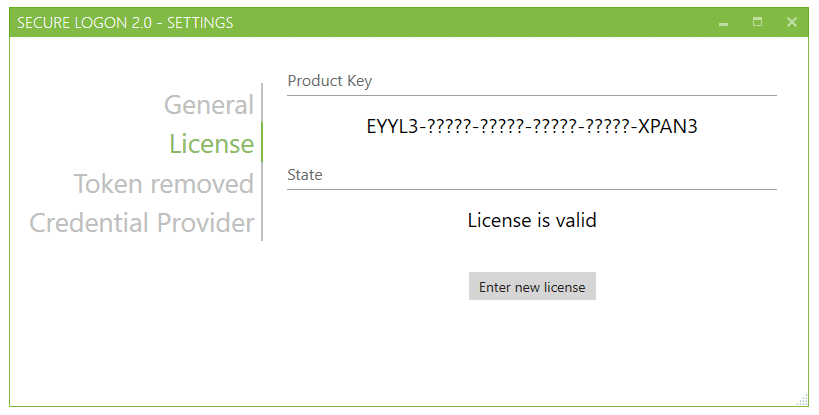
When the activation process is completed, the status of your licence is shown.
Close this window with the “X” in the upper right corner.
How to setup Secure Logon™ 2.0
To use your SecurityToken for login purpose it must be initialized and an account has to be linked to the SecurityToken.
Setup at logon screen
Initialization
Some SecurityTokens must be initialized through a middleware.
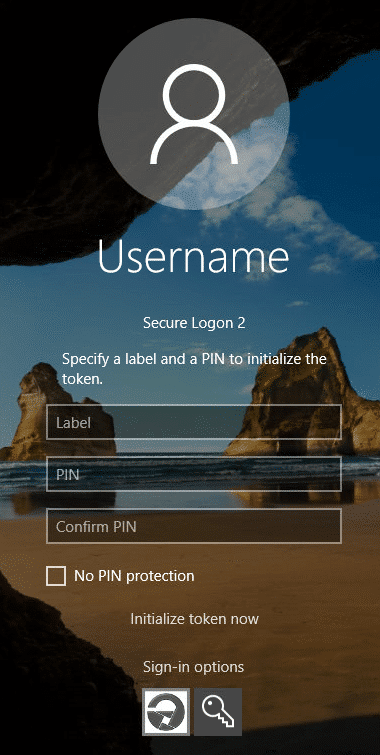
You are prompted to enter a label, which is used as a display name for the token. You also have to enter a PIN and confirm it.
If you check “No PIN protection”, there will be no PIN for this SecurityToken. You will be automatically logged in, when the token is connected. Please be aware of the implication, that there is no 2-factor-authentication.
When each field is filled click “Initialize token now” and wait some seconds, until the process has been finished.
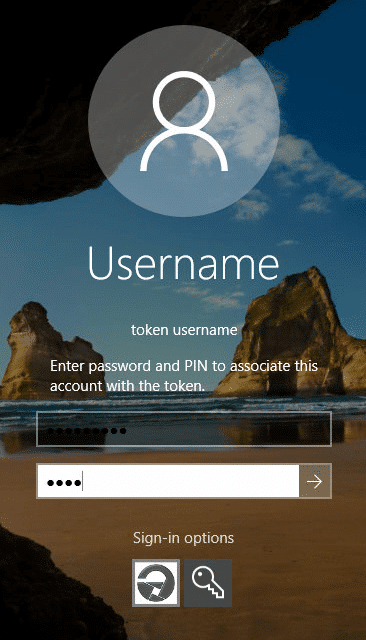
When the initialization is completed, credentials has to be linked with the SecurityToken. The currently selected user is going to be used for this procedure.
Please enter the password of the chosen user in the top field and the PIN of the connected SecurityToken in the other field.
Confirm the input by pressing enter or a click on the arrow. Your user data is going to be linked with the security token and you are going to be logged in.
The user session will now be protected by Secure Logon™ 2.0. If the SecurityToken is removed, the configured action will take effect. After a standard installation it is lock the screen.
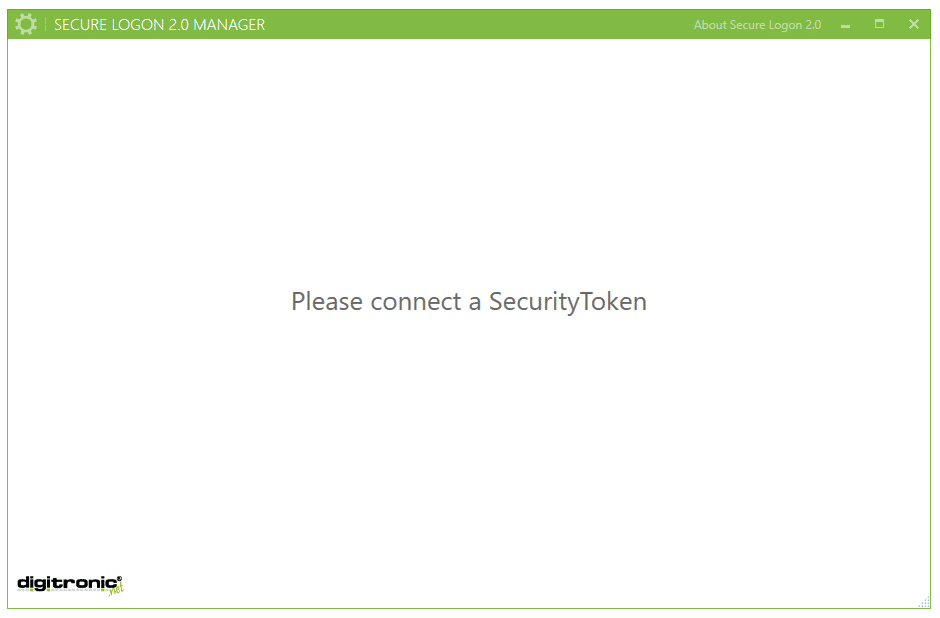
Setup under usage of the Secure Logon™ 2.0 Manager
Initialization
An initialization is not supported for every possible digitronic® SecurityToken. Some of them have to be initialized through a middleware.
After restarting your PC, login like you are used to.
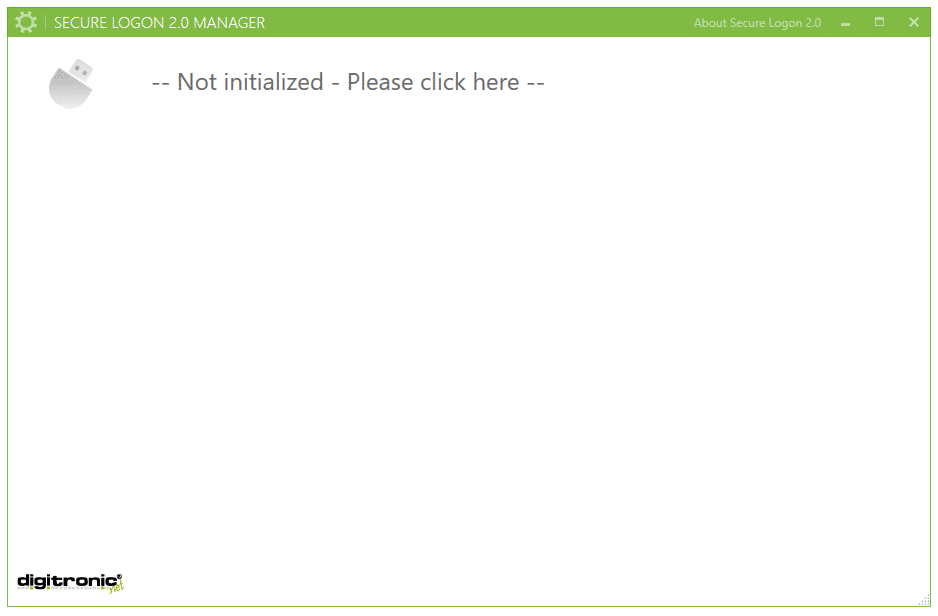
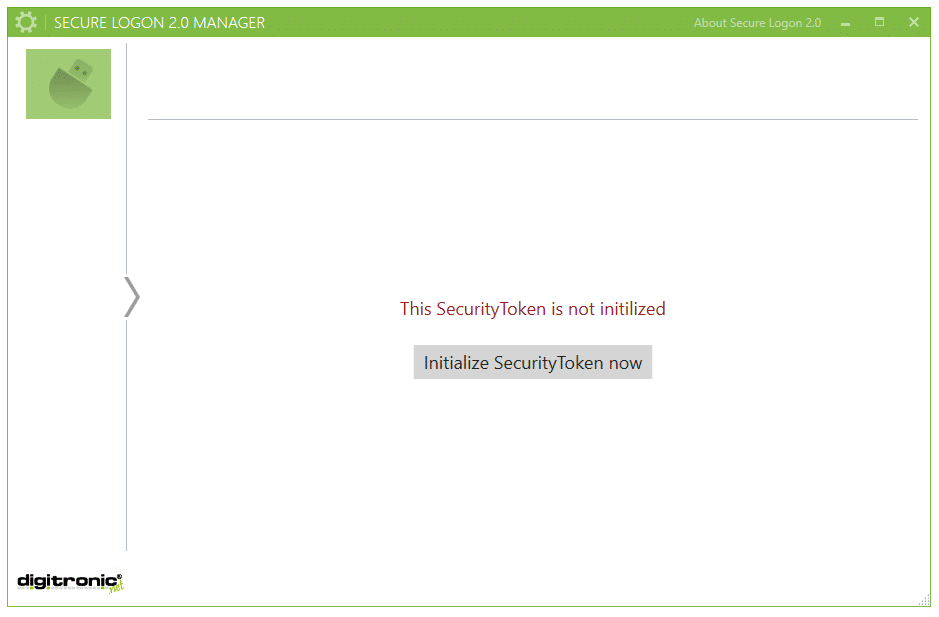
As soon as the SecurityToken is recognized by the operating system you will be prompted to initialize it. To do this, click the SecurityToken-symbol or the displayed text.
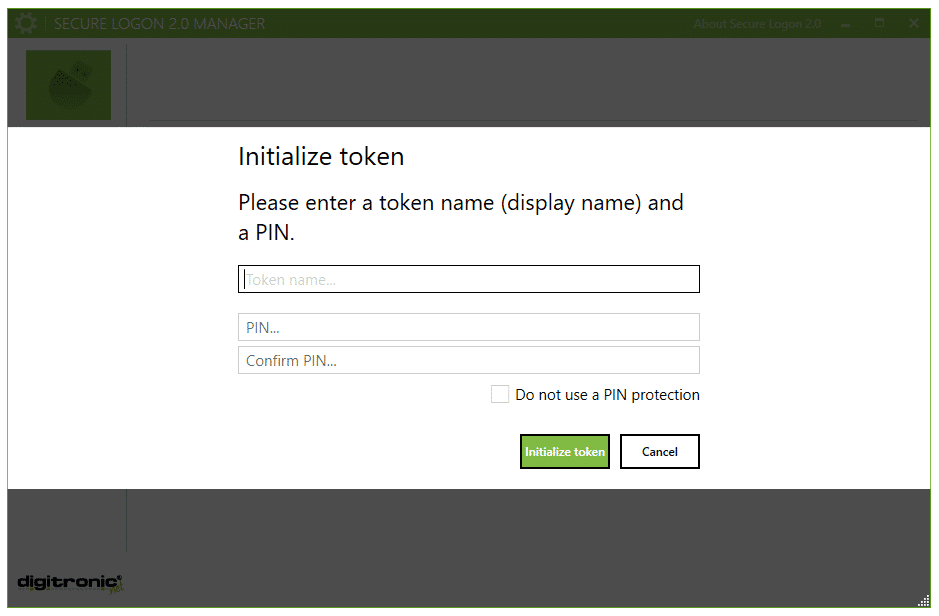
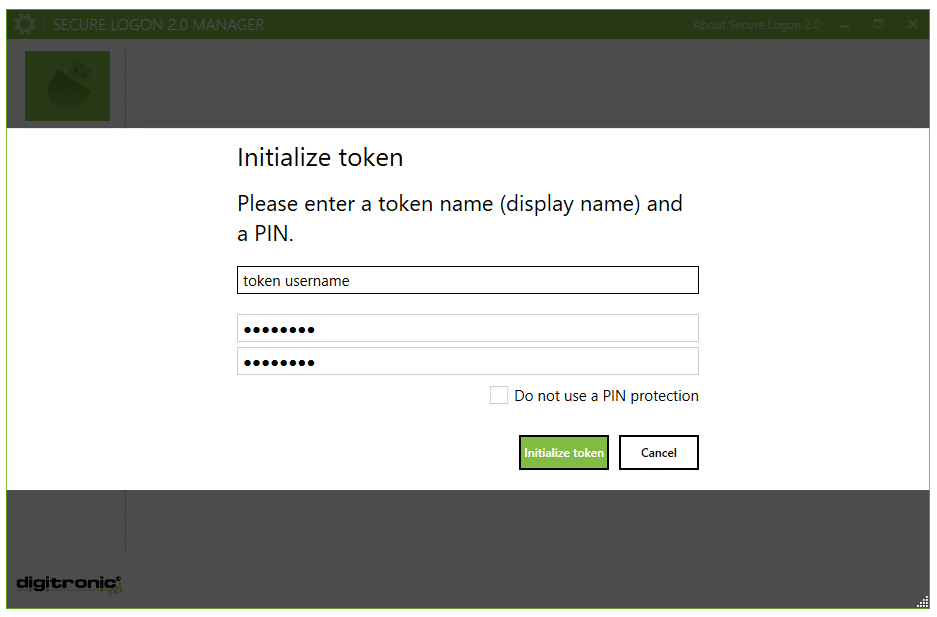
Name the SecurityToken and set a PIN for it.
If you check “Do not use a PIN protection”, there will be no PIN for this SecurityToken. You will be automatically logged in, when the token is connected. Please be aware of the implication, that there is no 2-factor-authentication.
Linking an account
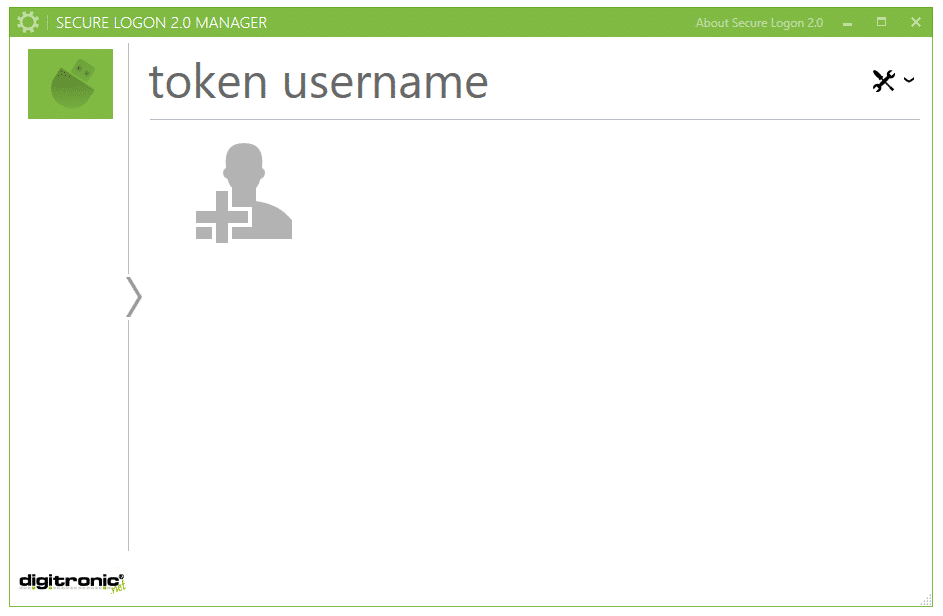
After the SecurityToken is initialized, there is no userdata on the SecurityToken.
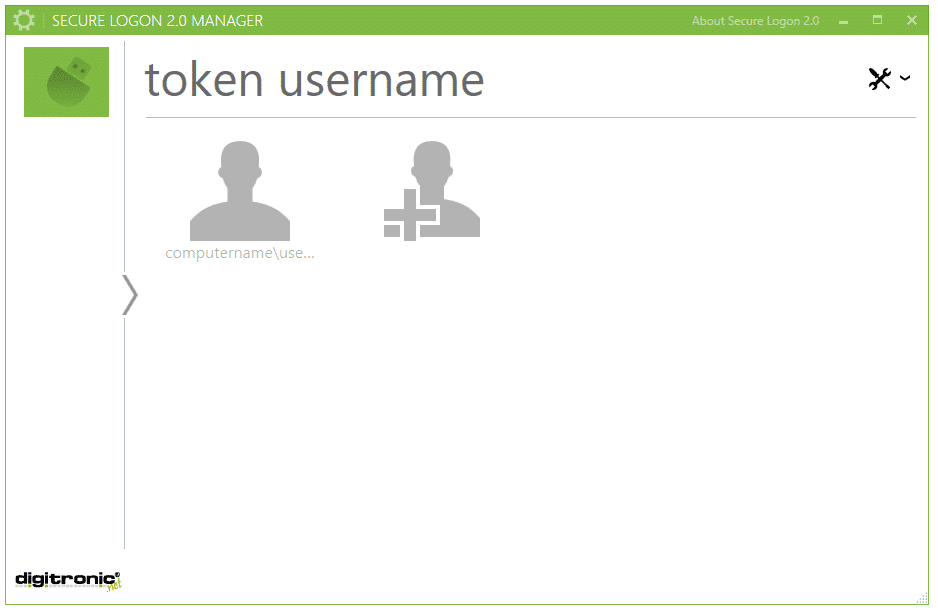
The userdata must be written on the token. To do this, click the silhouette with the plus.
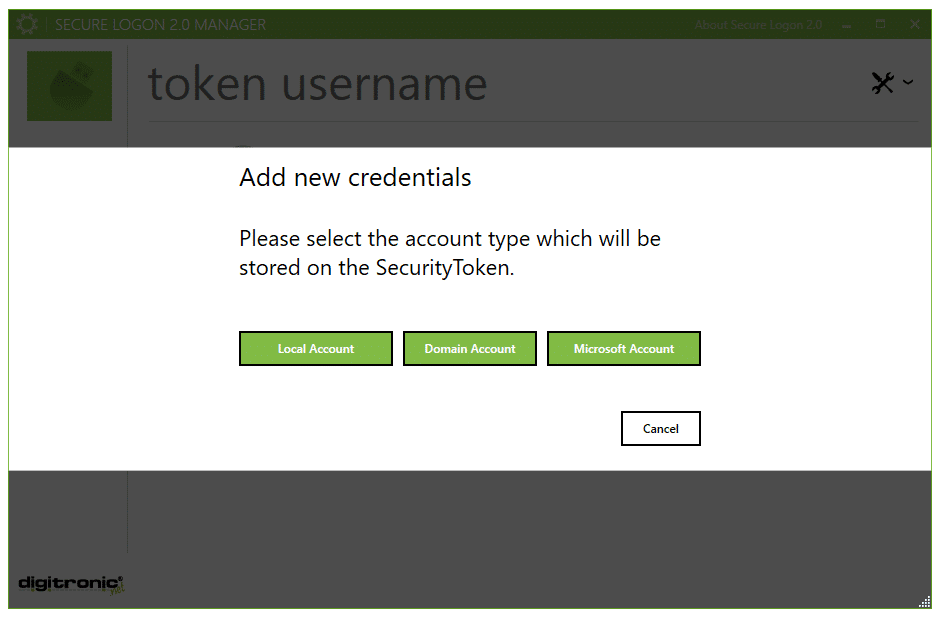
Choose which type of account should be stored at the SecurityToken. A local account describes a local login at a single PC. A domain account is common in a company network. Choose Microsoft account if you have linked your PC login with your Microsoft account.
There is a local account used in this example.
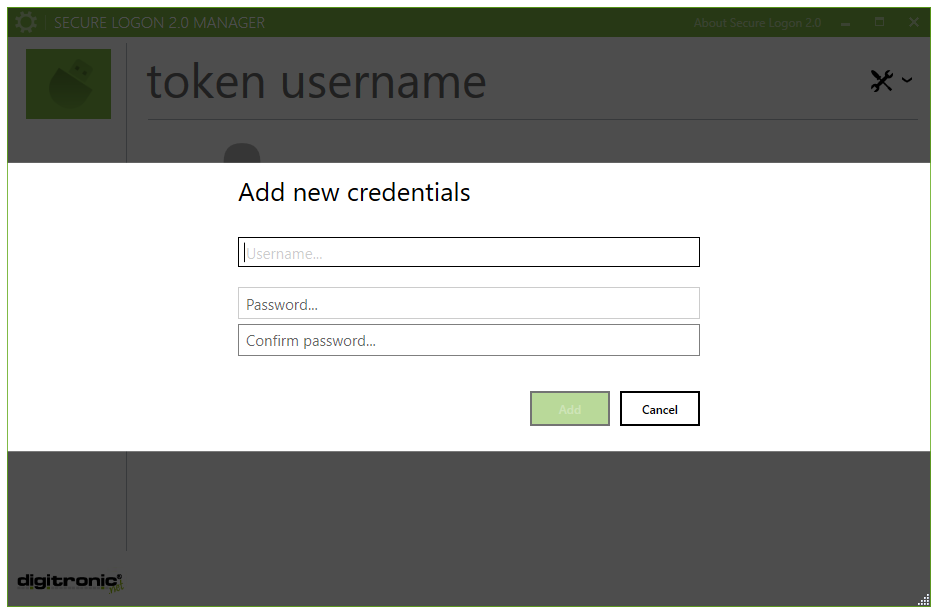
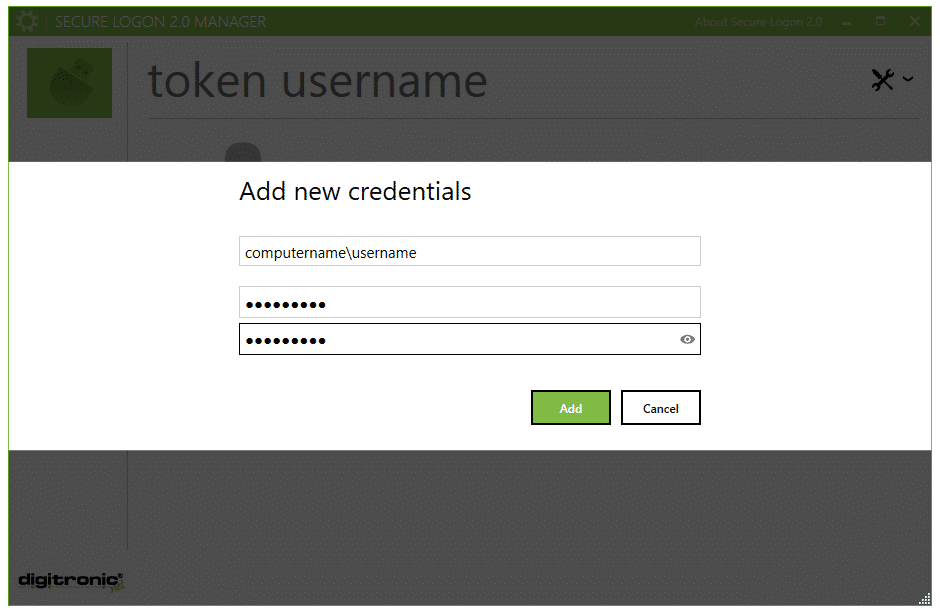
Enter your username if you use a local account. When a domain account is used, please enter either “NetBiosDomainname\Username” or “username@UPN-Domainname”. In case you use a Microsoft account the e-mail address is used.
Enter the password you are using during Windows login into the password field and confirm the password.
As soon as you have finished entering your credentials and also the password is confirmed, push “Add”.
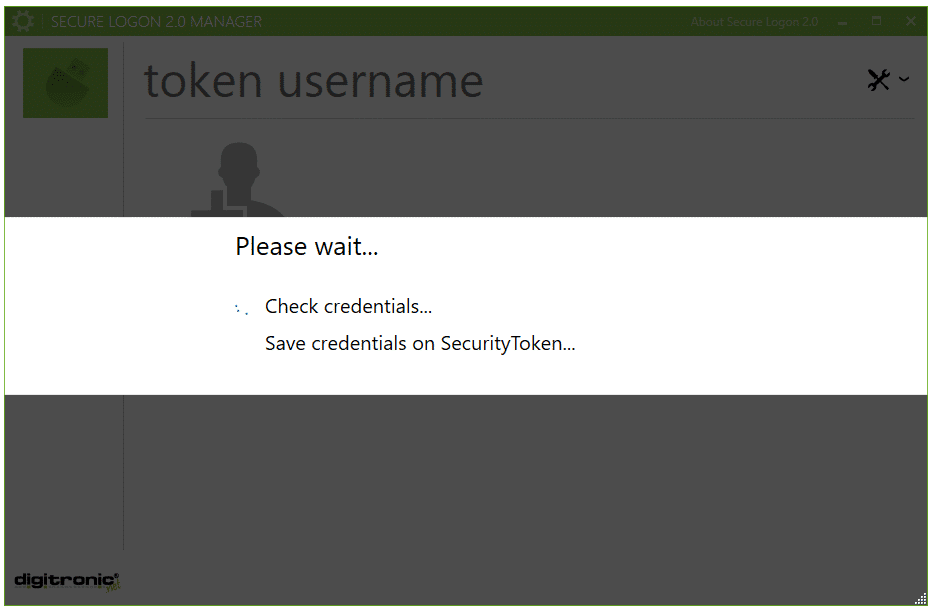
The program checks whether the given credentials are valid for the local PC. After this is done the credentials are going to be encrypted and saved on the SecurityToken. This can take some seconds.
It may happen, that the PIN is required to store the credentials.
Now you can see the linked user and with clicking the silhouette with the plus, you can add other users if needed.
How to Login to Secure Logon™ 2.0
In this chapter we are going to explain how to sign in in a safe way with Secure Logon™ 2.0. In our example the standard username and password authentication is still enabled.
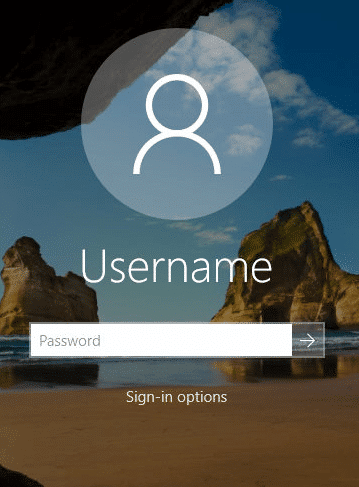
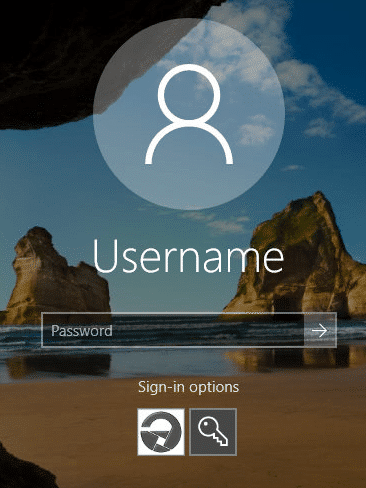
Use the link “Sign-in options” in the Login Screen.
Please take notice that this is only necessary if your last login was not provided by Secure Logon™ 2.0.
Connect your SecurityToken if not connected. It could take a wink until it is recognized and you will be prompted to enter your PIN.
The padlock symbol in your systray indicates whether you are logged in with a SecurityToken or not.
It is coloured if your session is established with Secure Logon™ 2.0.
How to Settings on Secure Logon™ 2.0
This chapter explains the settings of Secure Logon™ 2.0. To open the settings dialogue and to change the settings, administrative rights are required.
In “General” it is possible to do the language setting, set the colour accent and you are able to specify your proxy. This is only necessary for an online activation.
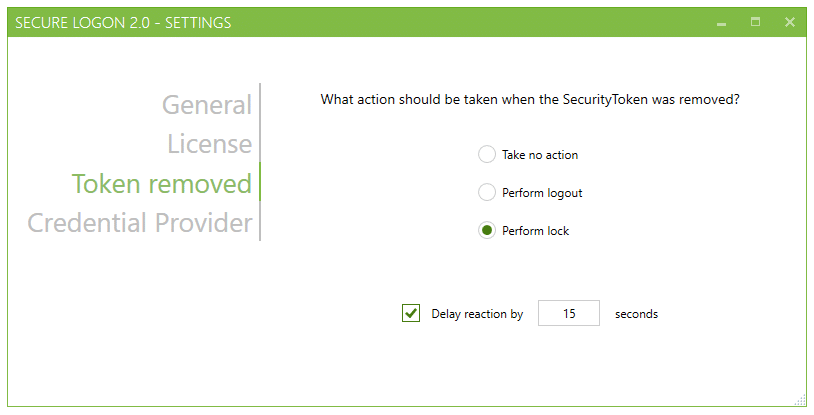
When you change to “Token removed”, you can set what happens on SecurityToken removal.
In case you mark “Take no action”, nothing will happen if the connection to the SecurityToken is cut.
You will be logged out, if “Perform logout” is chosen. Please be aware, that there won’t be a possibility to save unsaved progress. The delay, which is introduced in the next step, is also relevant for “Perform logout”.
Choose “Perform lock” to lock the screen, when the SecurityToken has been removed.
When “Delay reaction by x seconds” is checked, the chosen action will take effect, delayed by a number of x seconds and a timer pops up.
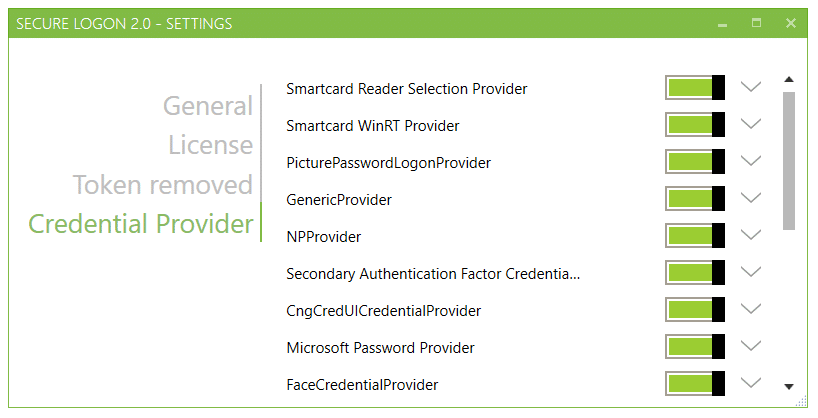
The slide “Credential Provider” lists all ‘authentication methods’ that are installed on your computer. You can deactivate or activate them using the sliders.
Please note that the Secure Logon™ 2.0 provider is not listed here, so that it is always possible to log in.
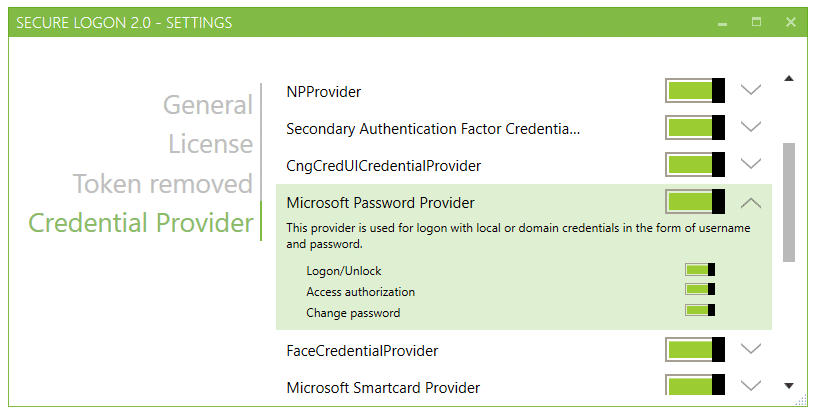
You may want to enable some authentication methods for a specific use case. For example, you could allow “Access authorization” with username and password to launch a program as administrator, without connecting a second token, but forbid logon with username and password.
This is possible when you expand an entry via clicking on the arrow next to the entry. There you will find the familiar sliders to activate and deactivate the use cases.
How to get version information from Secure Logon™ 2.0
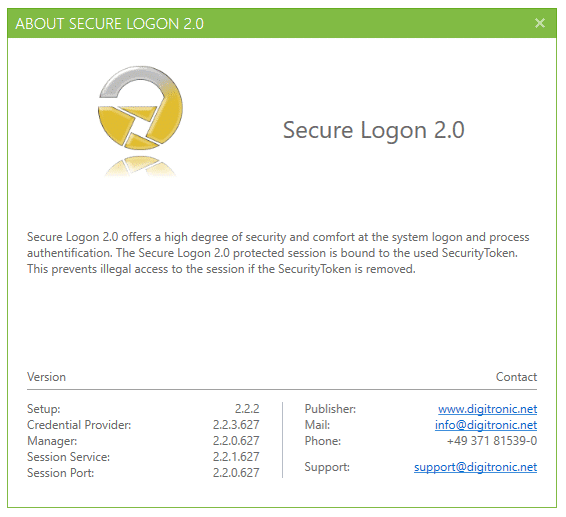
This chapter will describe how to open the “about” dialogue and where to get the contact information.
